
AZDOME M550 Manual: A Comprehensive Guide
This detailed manual provides setup instructions‚ feature explanations‚ and troubleshooting guidance for the AZDOME M550 car dashcam‚ ensuring optimal performance and user experience․

Welcome to the AZDOME M550 dash camera experience! This advanced device is designed to provide reliable recording and peace of mind while driving․ This manual serves as a comprehensive resource‚ guiding you through every aspect of the M550‚ from initial setup and operation to advanced features like WiFi connectivity and GPS functionality․
The AZDOME M550 isn’t just a camera; it’s a complete car security and driving assistance system․ It captures high-quality video evidence in case of incidents‚ offering crucial protection․ Understanding its features‚ as detailed within this guide‚ will unlock its full potential․ We’ll cover installation‚ settings customization‚ firmware updates‚ and solutions to common issues‚ ensuring a smooth and satisfying user journey․
Unboxing and Component Overview
Upon opening your AZDOME M550 package‚ carefully inspect the contents․ You should find the M550 dash camera unit itself‚ a suction cup mounting bracket for windshield attachment‚ a car power adapter (cigarette lighter plug) for continuous power‚ and a micro USB cable for data transfer and potential hardwiring kit connection․

A quick-start guide is also included for immediate setup‚ though this comprehensive manual provides far more detail․ Verify all components are present and undamaged․ The camera features a high-resolution lens‚ a built-in LCD screen for viewing footage and adjusting settings‚ and various ports for power and SD card insertion․ Familiarize yourself with these components before proceeding to installation․
Installation and Mounting
Proper installation is crucial for optimal performance of your AZDOME M550․ Begin by selecting a mounting location on your windshield that doesn’t obstruct your view․ Clean the windshield thoroughly before attaching the suction cup mount․ Ensure the mount is securely fastened before clipping the camera into place․

Next‚ connect the power cable․ You have two options: the cigarette lighter adapter for quick and easy use‚ or the optional hardwire kit for discreet‚ permanent power․ If using the hardwire kit‚ consult a professional for safe installation․ Route the cable neatly to avoid obstructing controls or airbags․ A secure mount and proper power connection are essential for reliable operation․
Windshield Mounting Procedure

Begin by selecting a clear‚ unobstructed area on your windshield․ Thoroughly clean the chosen spot with glass cleaner and a lint-free cloth to ensure optimal suction․ Attach the suction cup mount to the AZDOME M550‚ ensuring it clicks securely into place․
Moisten the suction cup slightly with water before pressing it firmly onto the windshield․ This enhances the seal․ Adjust the angle of the camera to achieve your desired recording perspective․ Double-check that the mount is stable and won’t detach during driving․ Periodically inspect the mount‚ especially in extreme temperatures‚ to maintain a secure connection․
Power Connection Options (Cigarette Lighter & Hardwire Kit)
The AZDOME M550 offers two primary power solutions․ The cigarette lighter adapter provides a simple plug-and-play setup‚ ideal for immediate use․ Insert the adapter into your vehicle’s cigarette lighter socket to power the dashcam․
Alternatively‚ the optional hardwire kit enables continuous operation‚ even when the ignition is off․ This requires professional installation‚ connecting directly to your vehicle’s battery․ The hardwire kit also supports parking mode‚ recording while your car is parked․ Always follow the hardwire kit’s instructions carefully and prioritize safety during installation․
Basic Operation and Interface
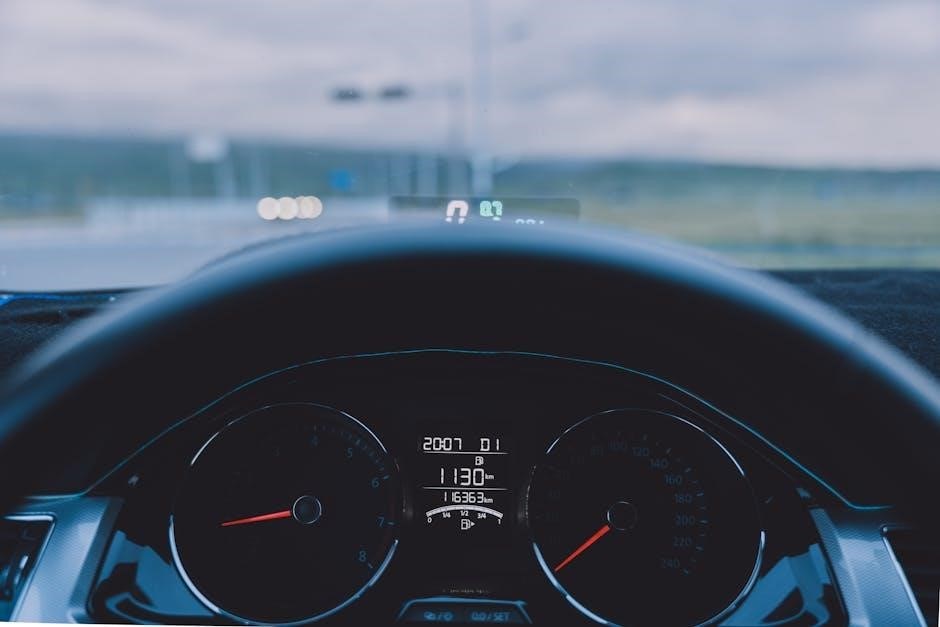
The AZDOME M550 features an intuitive interface designed for ease of use․ The power button initiates recording and enters standby mode; Navigation is primarily done through the LCD screen and accompanying buttons․ The menu button accesses settings for resolution‚ loop recording‚ and G-sensor sensitivity․
The interface displays current time‚ date‚ recording status‚ and GPS signal strength (if applicable)․ Short presses of the menu button cycle through options‚ while the OK button confirms selections․ Familiarizing yourself with these basic controls will allow for quick adjustments while driving‚ ensuring optimal dashcam functionality and convenient operation․
Camera Settings and Customization
The AZDOME M550 offers extensive customization options to tailor recording to your needs․ Access the settings menu via the interface to adjust video resolution‚ ranging from 1080p to 4K‚ impacting file size and clarity․ Loop recording can be enabled‚ automatically overwriting older footage with new content‚ preventing SD card filling․
The G-sensor detects impacts and automatically locks the current footage‚ preserving it from overwriting․ Sensitivity levels are adjustable to avoid false triggers․ Further settings include date/time formatting‚ screen saver duration‚ and audio recording control․ Experimenting with these options allows you to optimize the dashcam for your specific driving conditions and preferences․
Resolution and Video Quality Settings
The AZDOME M550 allows users to select from multiple resolutions‚ directly impacting video clarity and storage consumption․ Options typically include 1080p (Full HD)‚ 1440p (Quad HD)‚ and 4K (Ultra HD)․ Higher resolutions capture more detail but require larger SD card capacity․
Within each resolution‚ quality settings – often labeled ‘Standard‚’ ‘High‚’ or ‘Super High’ – further refine the recording․ Higher quality settings increase bitrate‚ resulting in richer‚ more detailed footage‚ but also larger file sizes․ Consider your storage capacity and desired level of detail when choosing․ Regularly reviewing footage is recommended to assess the optimal balance between quality and storage efficiency for your driving needs․
Loop Recording and G-Sensor Configuration
Loop Recording ensures continuous operation by overwriting the oldest footage when the SD card reaches full capacity․ Users can typically set loop recording segment lengths (e․g․‚ 1 minute‚ 3 minutes‚ 5 minutes) within the dashcam’s settings․ Shorter segments provide more granular event recording․
The integrated G-Sensor detects sudden impacts or collisions․ When triggered‚ it automatically locks the current footage‚ preventing it from being overwritten by loop recording․ Sensitivity levels for the G-Sensor are adjustable; higher sensitivity detects even minor bumps‚ while lower sensitivity requires more significant impacts to activate․ Proper G-Sensor configuration is crucial for preserving critical event recordings․
WiFi Connectivity and Smartphone App
The AZDOME M550 features built-in WiFi‚ enabling seamless connectivity with your smartphone․ This allows for real-time viewing of the dashcam’s feed‚ easy download of recorded footage‚ and convenient remote control of settings․ Download the dedicated “AZDOME” app from your device’s app store (iOS or Android)․
Establishing a WiFi connection typically involves selecting the dashcam’s WiFi network from your smartphone’s available networks and entering the default password (often found in the manual)․ Once connected‚ the app provides a user-friendly interface for accessing all the dashcam’s functionalities‚ streamlining operation and enhancing the overall user experience․
Connecting to the AZDOME App
To connect your AZDOME M550 to the app‚ first ensure the dashcam is powered on and WiFi is enabled within its settings․ On your smartphone‚ download and install the “AZDOME” app from the App Store (iOS) or Google Play Store (Android)․ Launch the app and follow the on-screen prompts․
The app will guide you to select the AZDOME M550’s WiFi network from your phone’s available WiFi list․ You’ll likely need the default WiFi password‚ usually printed on the dashcam itself or within the included documentation․ Once connected‚ the app will establish a link‚ allowing you to view live footage‚ access recordings‚ and adjust settings directly from your smartphone․
App Features: Live View‚ Download‚ and Settings Control
The AZDOME app unlocks a suite of powerful features for your M550 dashcam․ The ‘Live View’ function provides a real-time video stream from the camera directly to your smartphone‚ ideal for monitoring while parked or verifying recording status․ You can easily download recorded videos to your phone’s storage for convenient sharing or backup․
Furthermore‚ the app grants comprehensive ‘Settings Control’‚ allowing you to remotely adjust dashcam parameters like resolution‚ loop recording duration‚ G-sensor sensitivity‚ and WiFi configuration․ This eliminates the need to directly interact with the dashcam’s buttons‚ streamlining the user experience and providing convenient access to all key functionalities․
GPS Functionality and Player Usage
The AZDOME M550 integrates GPS functionality‚ enabling accurate tracking of your vehicle’s speed and location during recording․ This data is overlaid onto the video footage‚ providing valuable context in the event of an incident․ To review recordings with GPS data‚ utilize the dedicated ‘Player’ software‚ typically available for download from the AZDOME website or via the smartphone app․
The Player allows you to visualize the recorded route on a map‚ alongside speed information and timestamps․ This feature is crucial for reconstructing events and providing evidence․ Ensure the GPS module is properly connected and has a clear view of the sky for optimal performance during playback and analysis․
Firmware Updates
Maintaining up-to-date firmware is crucial for optimal performance and access to the latest features on your AZDOME M550․ Regularly checking for updates ensures bug fixes‚ improved stability‚ and enhanced compatibility․ AZDOME typically releases firmware updates via their official website․ Download the latest version to an SD card․

To initiate the update‚ insert the SD card into the dashcam while it’s powered off․ Then‚ power on the device; it should automatically detect the update file and prompt you to begin the installation process․ Do not interrupt the update process‚ as this could potentially damage the device․ Follow the on-screen instructions carefully to complete the firmware update successfully․
Checking for Updates
Regularly verifying for firmware updates is essential to keep your AZDOME M550 functioning at its best․ While the dashcam doesn’t have an automatic update feature‚ you can manually check for new versions on the official AZDOME website․ Navigate to the support or downloads section specifically for the M550 model․
Compare the version number displayed on your dashcam’s settings menu with the latest version available online․ If a newer version exists‚ download it to a compatible microSD card․ Ensure the SD card is formatted correctly before transferring the update file․ Checking periodically – perhaps monthly – will guarantee you benefit from the latest improvements and bug fixes․
Update Procedure via SD Card
Once the latest firmware is downloaded onto your microSD card‚ carefully insert it into the AZDOME M550․ Power on the dashcam and navigate to the settings menu․ Locate the “System Update” or similar option – its exact name may vary slightly․ Select this option to initiate the update process․
The dashcam will automatically detect the firmware file on the SD card․ Do not interrupt the update process‚ and avoid turning off the device or removing the SD card during installation․ A progress bar will indicate the update’s status․ Upon completion‚ the dashcam will restart automatically․ Verify the new firmware version in the settings menu․
Troubleshooting Common Issues
If the AZDOME M550 fails to record‚ first check the SD card’s capacity and format – ensure it’s compatible and properly formatted․ For power issues‚ verify the cigarette lighter adapter or hardwire kit connection․ If the screen freezes‚ try a simple reset by pressing the reset button․
WiFi connectivity problems can often be resolved by restarting both the dashcam and your smartphone․ Ensure the AZDOME app has the necessary permissions․ If GPS isn’t functioning‚ confirm a clear view of the sky․ Regularly check for firmware updates‚ as these often address known bugs and improve stability․ Consult the FAQ section for further assistance․
Frequently Asked Questions (FAQ)
Q: Why isn’t my AZDOME M550 recording? A: Check the SD card‚ power connection‚ and ensure loop recording isn’t disabled․ Q: How do I access recorded footage? A: Use the AZDOME app or connect the SD card to a computer․ Q: Can I use a larger SD card? A: Yes‚ up to 256GB is supported․
Q: How do I update the firmware? A: Download the latest version and follow the instructions in the manual․ Q: Is the hardwire kit compatible with all vehicles? A: Generally‚ yes‚ but professional installation is recommended․ Q: What does the G-sensor do? A: It detects impacts and automatically saves the footage․
Safety Precautions and Legal Considerations
Always prioritize safe driving․ Avoid adjusting the AZDOME M550 while operating a vehicle․ Ensure the device doesn’t obstruct your view․ Regularly check local laws regarding dashcam usage‚ including audio and video recording restrictions․ Be aware of privacy concerns and obtain consent when recording conversations․
Properly maintain the device to prevent malfunctions․ Avoid exposing it to extreme temperatures or moisture․ Use a compatible power source to prevent damage․ Securely mount the dashcam to avoid it becoming a projectile in an accident․ Review and understand all legal implications before using the device․
Technical Specifications
Display: 3․0-inch LCD screen for clear video playback and settings navigation․ Video Resolution: Supports up to 1080P Full HD recording for detailed footage․ Wide Angle Lens: 170-degree wide-angle lens captures a broader view of the road․ G-Sensor: Built-in G-sensor detects sudden impacts and automatically locks video files․ Loop Recording: Seamless loop recording overwrites older footage when the SD card is full․
WiFi: Integrated WiFi allows for easy smartphone connectivity and file transfer․ GPS: Built-in GPS module records location data for accurate tracking․ SD Card Support: Compatible with MicroSD cards up to 256GB․ Operating Temperature: -10°C to 60°C (14°F to 140°F)․ Power Input: 5V/2A․
Warranty Information
AZDOME offers a one-year limited warranty on the M550 dashcam‚ covering defects in materials and workmanship from the date of purchase․ This warranty does not cover damage resulting from misuse‚ accidents‚ unauthorized modifications‚ or normal wear and tear․ To claim warranty service‚ please contact AZDOME customer support with proof of purchase and a detailed description of the issue․
AZDOME will‚ at its discretion‚ repair or replace the defective product․ Shipping costs for warranty claims are the responsibility of the customer․ This warranty is non-transferable and applies only to the original purchaser․ Any attempts to disassemble or repair the device by unauthorized personnel will void the warranty․
Resetting the AZDOME M550 to Factory Defaults

To restore the AZDOME M550 to its original factory settings‚ navigate to the settings menu on the device․ Locate the “Reset” or “Factory Reset” option‚ typically found under the “System” or “General” settings․ Confirm your selection as this process will erase all personalized settings‚ including WiFi configurations‚ GPS data‚ and custom preferences․
A warning message will appear prompting you to confirm the reset․ Proceed with caution‚ ensuring you understand the implications of restoring factory defaults․ The device will then reboot‚ returning to its initial setup state․ This is useful for troubleshooting persistent issues or preparing the dashcam for a new user․